 I like making posters and playing around with graphics. I’m not necessarily good at it, but I like it. And I do have Opinions (with initial capital ;-).
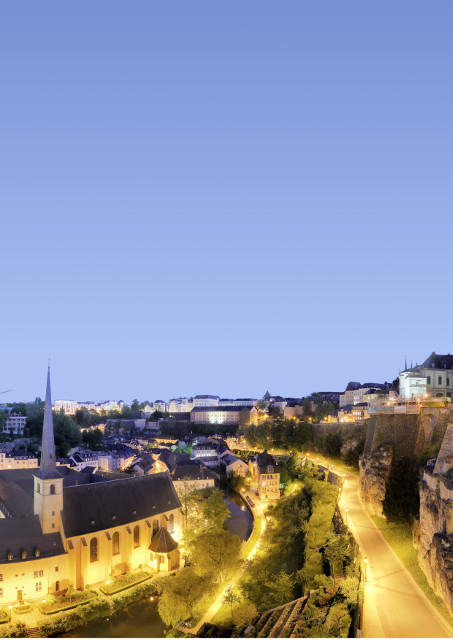
So this time we were compiling together a simple poster made up of a few photos over a background. The photos were given, so now for the background. Just a colour gradient is somewhat too boring, and does not do justice in most cases. As this was a custom-made one-off souvenir, we’re not redistributing the work, so we’re happy to use a photo shared under most CC-licenses. Here’s the beauty we found:
As you can observe, the photo in question is somewhat… landscapy-oriented. However, the customer was dead-set on a portrait rendition. Which put us a bit short on the sky. What to do, what to do??
Jolie @ Gimptalk forums had an excellent suggestion:
- select the layer with the landscape photo
- Choose Layer > Layer to Image size
- Fuzzy select (U) the sky.
- Add area above sky to selection (shift-click).
- Color picker (O) select dark part of the sky as foreground colour. Make this a bit darker.
- Color picker select light part of the sky as background color (ctrl-click). Make this a bit lighter.
- Blend tool (L). Select “FG to BG” (which is default). Select shape: linear (again, default).
Draw a line from the top of the image down to the sky (or a bit further).
That’s it! Result:

