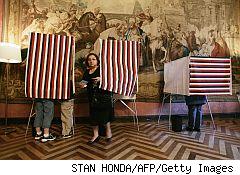
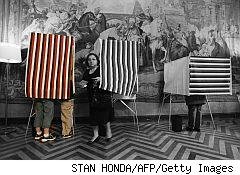
 The other day, for work, I wanted to make part of a picture stand out. I opened GIMP, but not sure to proceed. And then I hit upon an idea: have the original in B&W, and have the highlighted part in colour!
Sometimes this looks really good, sometimes it’s more okay than amazing. But, at any rate, it’s neigh-on trivial in GIMP, as this tutorial shows.
Short short version
- duplicate background layer (right-click layer, “copy”)
- make new layer grayscale (color menu -> desaturate, try the options)
- add layer mask (right-click layer, “add mask”, select “white”, click add)
- paint on the mask with black to remove those parts of the layer (brush tool or pencil tool)
fix mistakes by painting with white (press ‘x’ to toggle between background and foreground color) - save image
And what does that get you?
 |
 |
Pretty nifty for my first serious GIMP’ing, no? :)
Edit: just found out how to easily have lines around a selection:
- select something,
- choose a brush or pencil of appropriate size and color
- Click Edit > Stroke selection; choose the lower radio button (“Stroke using a paint tool”)
- done!
Yeah yeah, trivial stuff huh? Two things: 1, last time it took me way too long and the result was entirely unsatisfactory; 2. this works on any selection, not just a square or circle. And that is cool :)
Outlining Switzerland on a map of Europe in 5 sec is cool :)